Mastering The Mastermind: A Comprehensive Guide to Wesker's Adept Achievement in Dead by Daylight
Master the formidable challenge of unlocking Albert Wesker's Adept achievement in Dead by Daylight with this essential guide. Discover optimal strategies and nuanced tactics to secure a coveted Merciless Victory using his unique perks.
As a dedicated player of Dead by Daylight, I was thrilled when the second Resident Evil crossover brought the iconic villain Albert Wesker into the fog as 'The Mastermind.' His arrival, alongside survivors Ada Wong and Rebecca Chambers, injected new energy into the game. Unlocking his Adept achievement, which requires securing a Merciless Victory using only his three unique perks, is a formidable challenge that tests a killer's true skill. Unlike survivors who simply need to escape, killers must dominate a match under strict constraints. In this guide, I'll share my insights into Wesker's unique perks, optimal strategies, and the nuances of achieving that coveted Merciless rating.
Adept achievements are a staple of Dead by Daylight, but for killers, they represent a significant trial. Limiting yourself to three specific perks, which may not always synergize perfectly, can feel daunting. However, I've learned that with the right approach and understanding of the rules, success is within reach. First, it's crucial to know what's allowed. You can and should utilize Wesker's add-ons, as each offers unique benefits. For instance, Ultra Rare add-ons can dramatically alter gameplay, though I advise caution with the Iridescent Uroboros Vial. While its one-hit down potential is tempting, securing a Merciless rating often requires repeatedly injuring and downing survivors to maximize scoring events in categories like Brutality and Deviousness. Constantly one-hitting survivors might actually lower your overall score. Offerings are also permitted, and I strongly recommend bringing a map offering. As I'll discuss, Wesker's mobility-based power excels on certain maps like Léry's Memorial Institute or The Game, where his Bound ability can navigate tight corridors effectively, while open maps like Coldwind Farm can be more challenging. Conversely, the list of prohibited items is short but absolute: you cannot bring any non-unique perks (no matter how well they might synergize, like Starstruck) and you cannot equip a fourth perk slot, even if it's empty. Your loadout must consist solely of Superior Anatomy, Awakened Awareness, and Terminus.
Now, let's delve into Wesker's three unique perks and how to maximize their utility.
Superior Anatomy
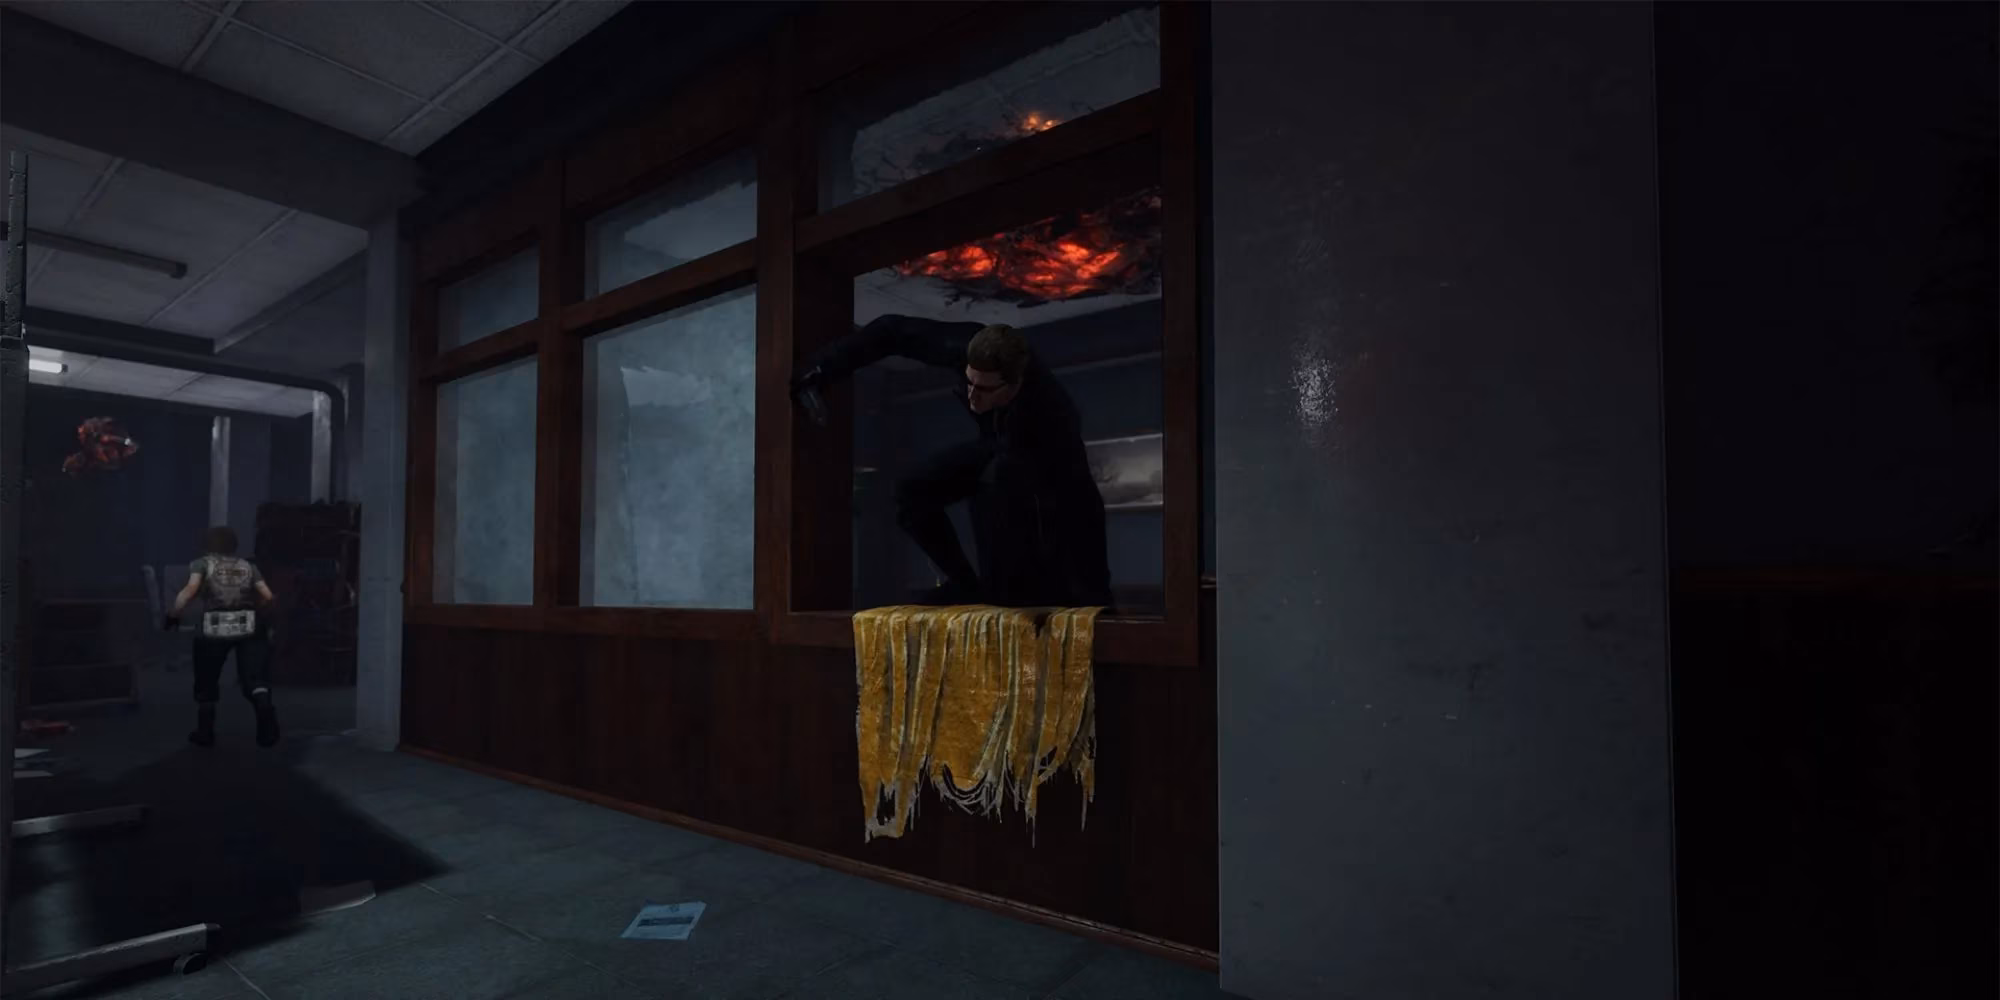
This perk activates when a survivor performs a quick vault within 8 meters of you. It significantly increases your vault speed by 30/35/40% based on its tier. After vaulting, it deactivates and enters a 30-second cooldown. On paper, Superior Anatomy is a chase-oriented perk designed to close distance at windows. For many killers, this can be a game-changer against survivors who loop at strong window structures. However, for Wesker himself, its utility is somewhat diminished. His Bound power already allows him to vault windows and pallets with immense speed and covering great distance. Furthermore, if survivors rely on dropping pallets instead of vaulting windows, this perk becomes virtually useless. In my experience, while it can occasionally help in a tight chase where your power is on cooldown, it's often the least impactful of his three perks for achieving the Adept. Its value is highly situational and map-dependent.
Awakened Awareness
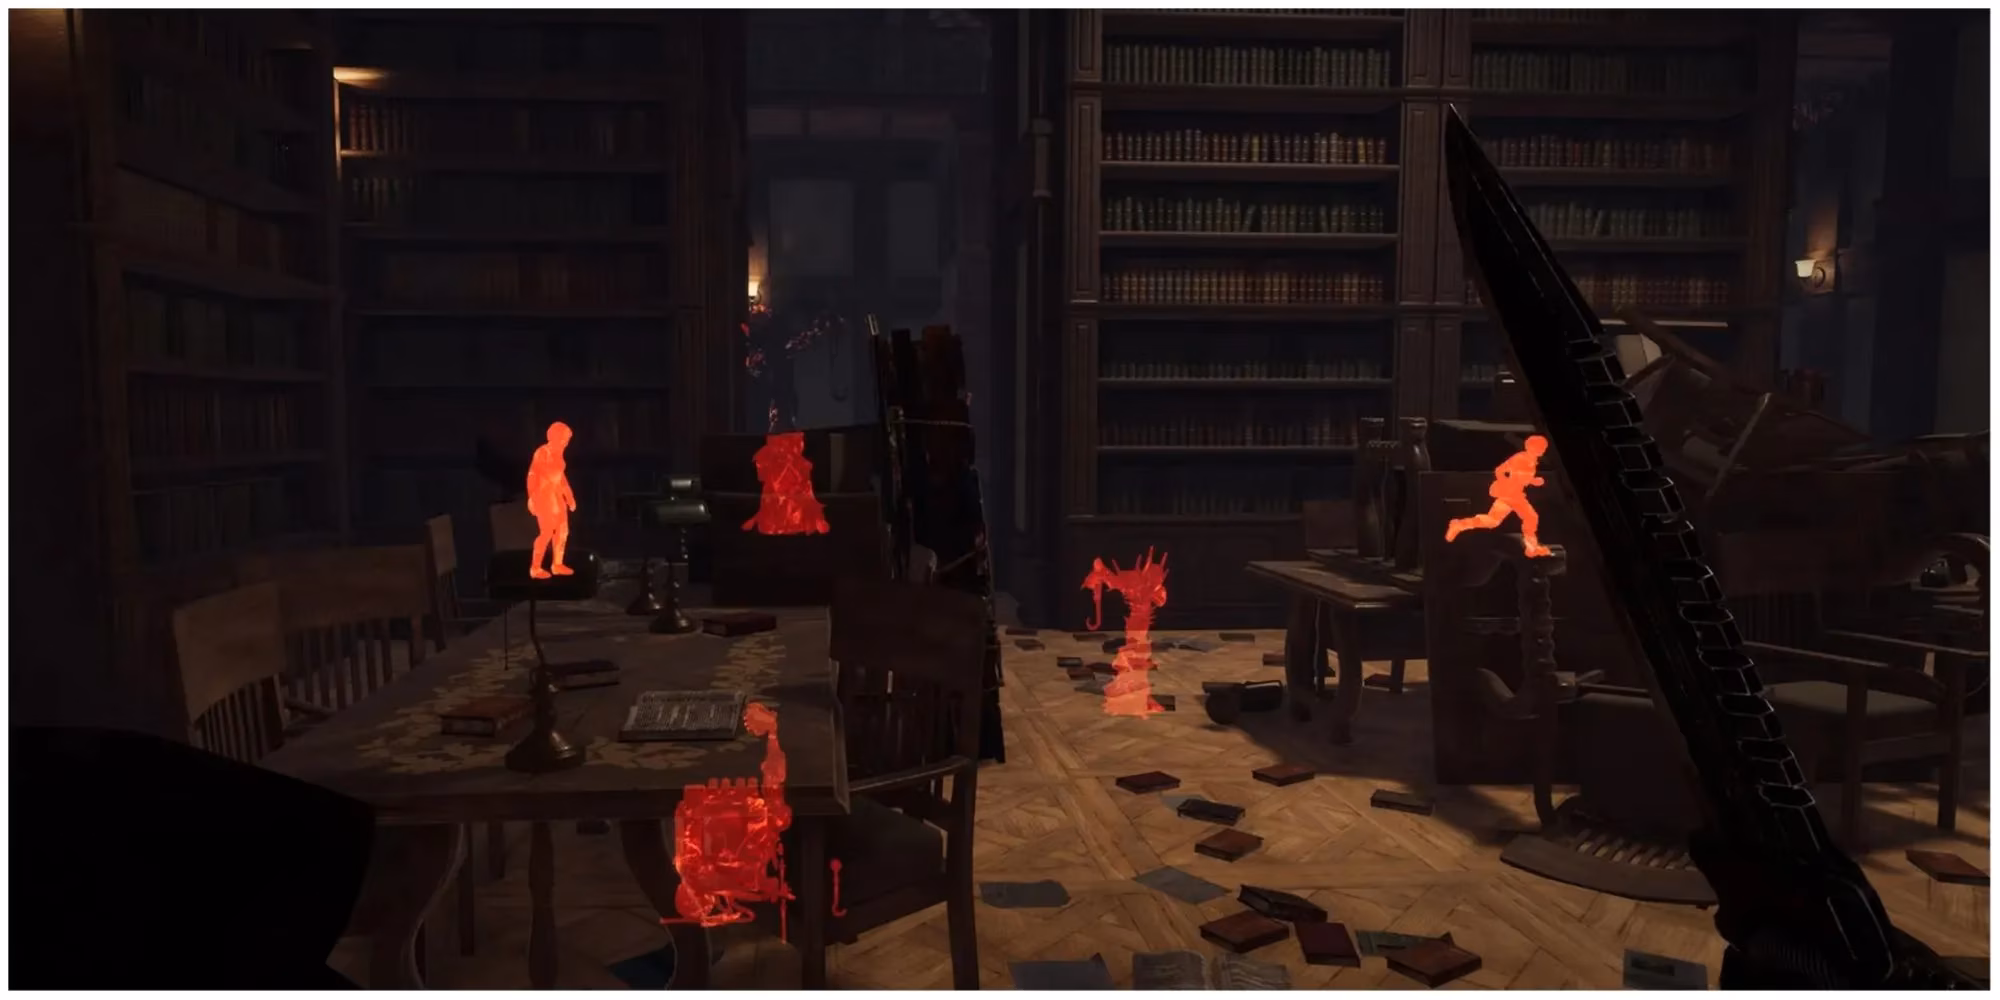
This is a fascinating informational perk. It activates whenever you are carrying a survivor, revealing the auras of all other survivors within a 16-meter range. At its core, Awakened Awareness is designed to counter altruistic plays and prevent last-second saves. When combined with perks like Starstruck in a normal build, it's devastating, but for the Adept challenge, you must use it in isolation. Its strength lies in granting you critical intelligence: you can see if another survivor is lurking nearby for a flashlight save or a body block, allowing you to adjust your path to the hook accordingly. To use it effectively, I make a habit of actively looking around while carrying a survivor, scanning my environment for aura outlines. However, this perk has significant drawbacks. Savvy survivors will quickly realize you're using it and will stay outside its range, making it ineffective. Furthermore, spending too much time looking around increases the risk of the carried survivor wiggling free. It's a high-risk, high-reward perk that requires constant spatial awareness.
Terminus
Terminus is Wesker's signature endgame perk. It activates once all five generators are completed. When active, all injured, dying, or hooked survivors suffer from the Broken status effect, preventing them from healing themselves until the exit gates are opened. This effect persists for an additional 20/25/30 seconds after the gates are powered. In theory, Terminus can create chaotic endgame scenarios. Survivors who are injured cannot heal, making them easy targets for Wesker's Bound, which can instantly down them if they are already infected with the Uroboros Virus. This panic can lead to predictable, rushed behavior as they scramble to open the gates. I've found it can sometimes secure last-minute kills when hope seems lost. However, against a competent, coordinated team, Terminus is often neutralized. Survivors will pre-heal before completing the final generator, protect injured teammates, and leave immediately once the gates are powered. Therefore, relying on Terminus for your strategy is a gamble; it's a perk that banks on the game going badly and hoping for a late turnaround, whereas the goal for a Merciless Victory should be to apply constant pressure and secure sacrifices well before the endgame collapse.
🛠️ Strategic Tips for Securing the Merciless Victory
With a deep understanding of these perks, here is my personal strategy for conquering Wesker's Adept challenge:
-
Practice is Paramount: Before attempting the Adept, spend time mastering Wesker's power, Virulent Bound. It's not just an offensive tool; use it for rapid map traversal and cutting off survivors. Practice throwing survivors into obstacles to trigger the Infection and subsequent damage. Familiarize yourself with the cooldowns and charge timing.
-
Choose Your Add-ons Wisely: I recommend using add-ons that enhance your power's utility without overly simplifying downs. The Lion Medallion (increases bound charge speed) or the Green Herb (recreases power cooldown) are excellent choices. Avoid the Iridescent Uroboros Vial for reasons stated earlier.
-
Mandatory Map Offering: This cannot be overstated. Bring an offering for an indoor or structured map. My top picks are:
-
The Game (Gideon Meat Plant): Multiple floors and tight spaces perfect for bounds.
-
Raccoon City Police Station: Familiar Resident Evil terrain with many walls for slams.
-
Midwich Elementary School: Controlled sightlines and corridors.
-
-
Maximize Scoring Events: A Merciless Victory requires high scores in all four categories: Brutality (injuring/downing), Deviousness (using your power), Hunter (chasing), and Sacrifice. Focus on:
-
Using your power frequently to hit and infect survivors (Deviousness).
-
Engaging in long chases, even if you break them off to pressure generators (Hunter).
-
Hooking each survivor at least once before sacrificing them (Sacrifice).
-
-
Leverage Awakened Awareness Tactically: While carrying a survivor, do a quick 360-degree scan. If you see an aura, you might want to fake a direction change or use your bound to create distance from the would-be rescuer before hooking.
-
Apply Constant Pressure: Your primary goal is to keep survivors injured and infected. An infected survivor coughing and needing to find a spray can creates immense slowdown. Don't commit to extremely long chases; instead, use your mobility to disrupt generator progress across the map.
-
The Endgame Mindset: If the gates are powered, don't despair. Use Terminus to your advantage. Patrol the gates aggressively. Your bound can intercept survivors trying to open a gate, and if they're injured, it's an instant down. Remember, Wesker can also use his bound to throw survivors away from the Hatch if you find it first, denying an escape.
-
Mental Fortitude: Never give up. A single down in the endgame can snowball. If you're struggling, consider that the game's skill-based matchmaking may adjust after a few losses, potentially leading to a more manageable match for your Adept attempt.
In conclusion, unlocking Wesker's Adept achievement is a test of mastery over his unique kit. It requires you to overcome the limitations of his situational perks by excelling in fundamental killer skills: map pressure, power usage, and strategic hooking. By internalizing these strategies, meticulously preparing your loadout, and maintaining relentless pressure, you will prove yourself a true Mastermind and finally hear those satisfying words: 'Adept Mastermind' unlocked. Good luck in the fog! 😈