
Mastering Yoichi Asakawa: A Complete Guide to His Survivor Perks in Dead by Daylight
Yoichi Asakawa's Parental Guidance and Empathic Connection perks in Dead by Daylight turn survivors into slippery escape artists and healing hubs.

Since drifting into the Entity's realm alongside Sadako Yamamura, marine biologist and psychic Yoichi Asakawa has proven himself a surprisingly slippery survivor. His knack for perceiving what others cannot sees him armed with a set of teachable perks that let him vanish mid-chase, patch up teammates at breakneck speed, and bless the map with a subtle but savage haste boost. For survivors looking to shake off killers like a bad cold, Yoichi's toolkit is an absolute ace up the sleeve. As of 2026, the meta has swirled through countless patches, but the core identity of these perks remains rock-solid – they reward quick thinking and tight teamwork.
Parental Guidance: The Art of the Vanishing Act
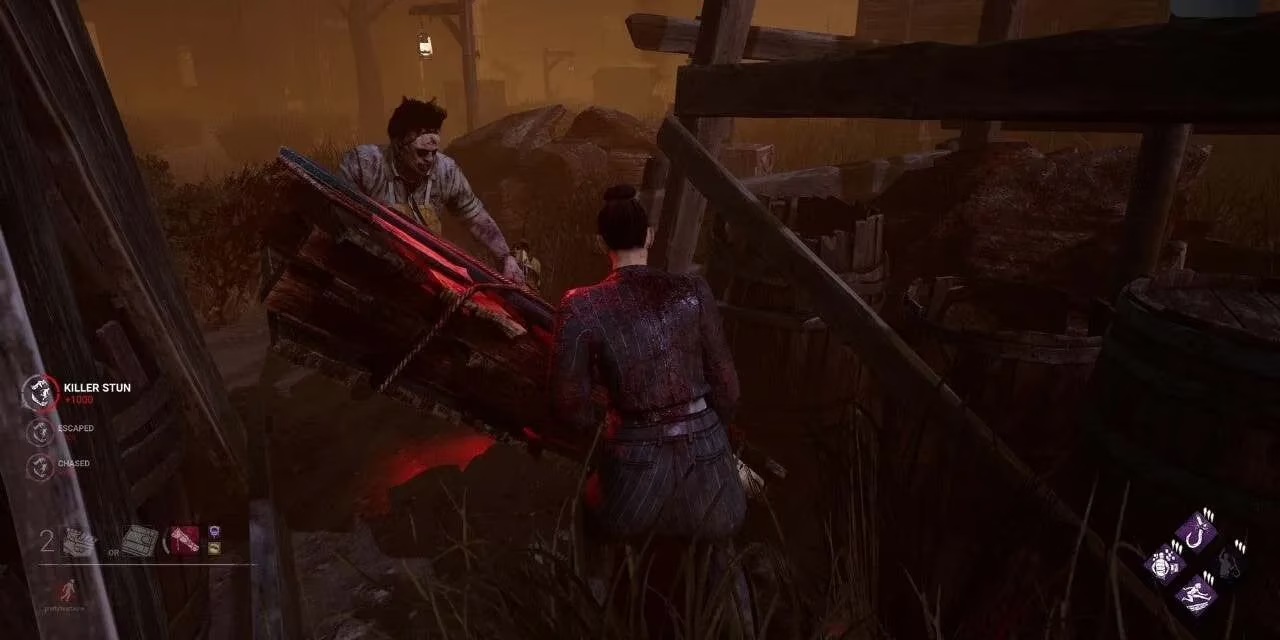
Parental Guidance is a perk that flips the script on killers who think they've got a survivor cornered. After stunning the killer by any means – be it a pallet drop, a flashlight blind, or a decisive strike – the survivor's scratch marks, pools of blood, and grunts of pain are hidden for a full ten seconds. That's an eternity in chase time. Even a rookie looper can use this window to slip around a corner, duck into a locker, or simply leg it to a distant jungle gym while the killer spins in confusion.
Many veterans call this perk a straight upgrade to Yui Kimura's Lucky Break. While Lucky Break ticks away on a finite timer, Parental Guidance has no usage cap; it can proc off every single stun in a trial. Drop a pallet on a Hillbilly, blind a Nurse mid-blink, sabotage a Trapper's hook just as he arrives – each moment resets the vanishing act. In a meta where chase time equals generator pressure, this perk is pure gold. It allows survivors to reset mind games, force the killer to waste precious seconds hunting, and often turns a down into a narrow escape. Among the seasoned fog-walkers, Parental Guidance is widely considered a top-tier pick, a clutch tool that can carry an entire late-game collapse.
Empathic Connection: A Beacon for Teamwork
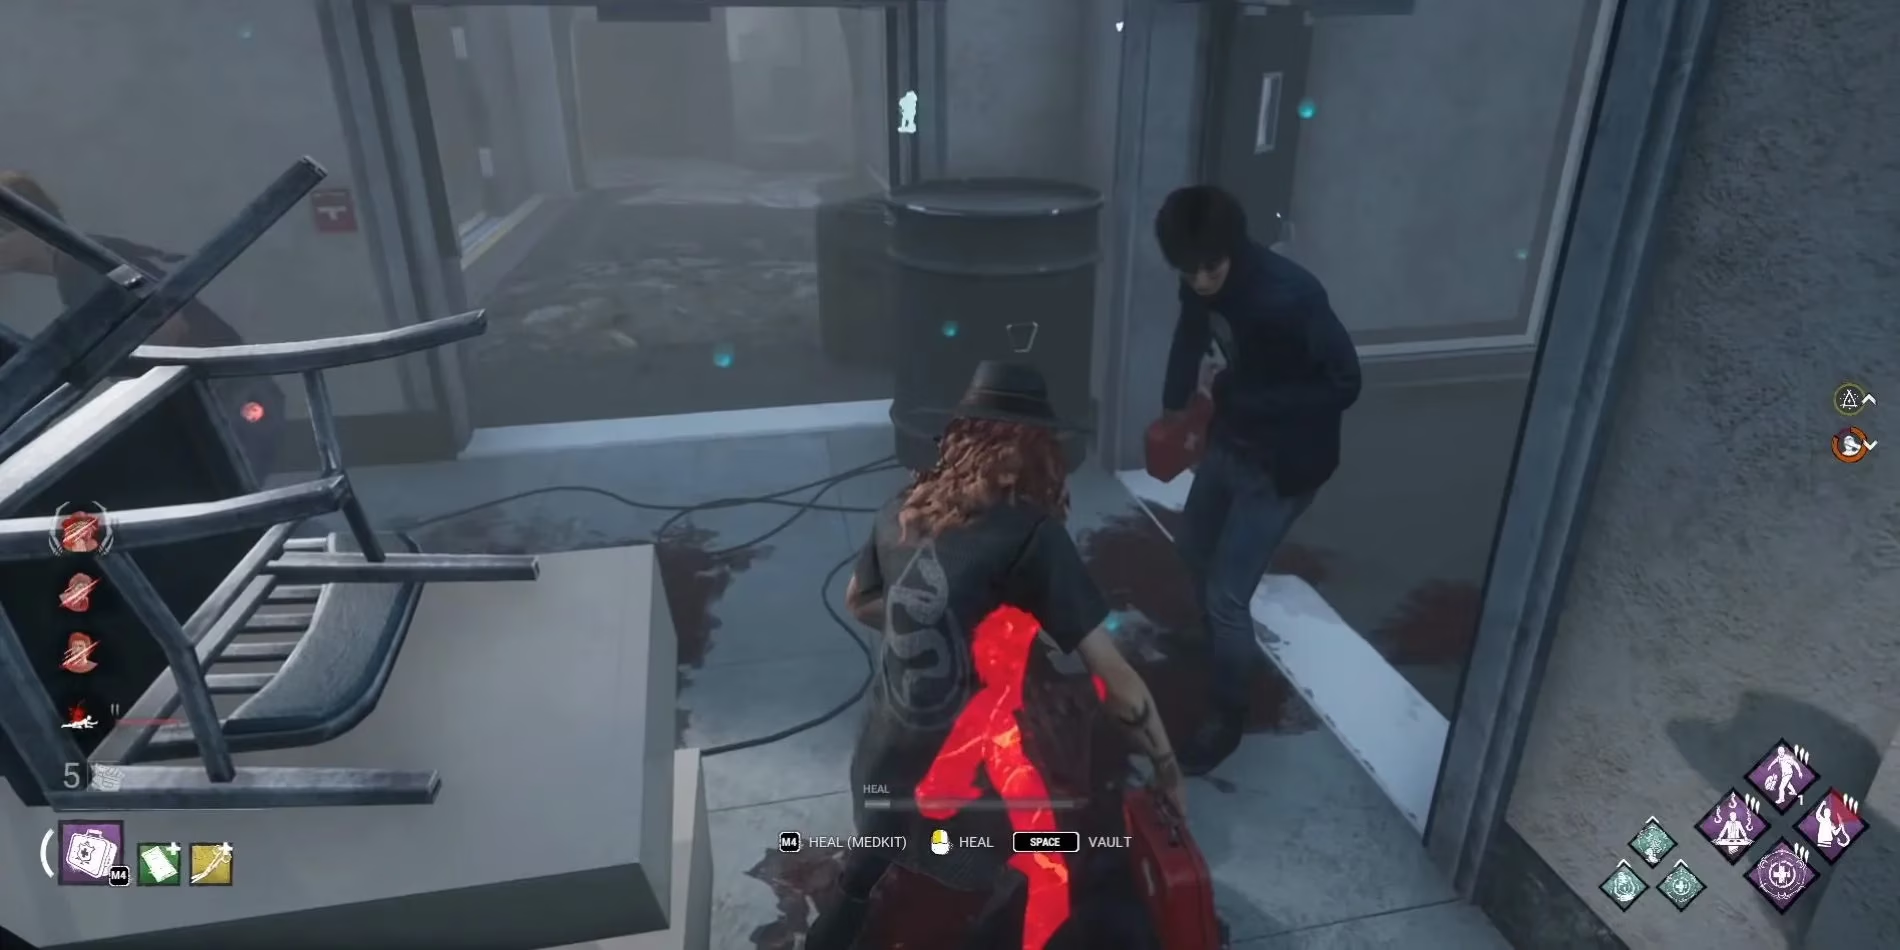
Empathic Connection is the sort of perk that makes altruistic play feel like second nature. Whenever another survivor is injured anywhere on the map, they can see the perk holder's aura within a massive 96-meter range. On top of that, the perk holder heals others 10% faster. This dual-purpose ability simultaneously broadcasts the player's location as a safe haven and trims precious seconds off every medkit or bare-handed heal.
The information aspect cannot be overstated. Let's say a Meg gets smacked across the map. She immediately clocks Yoichi's aura working on a generator, so she knows she can sprint his way without leading the killer straight onto another survivor repairing the main building. Conversely, if Yoichi is in chase, the aura warns injured teammates to steer clear and find another path to a heal. This silent coordination sidesteps the chaos of solo queue, almost like having a lingering afterthought of the old Bond perk mixed with We'll Make It. Many survivors ditch the classic Empathy in favor of Empathic Connection because the added heal speed boost is no joke – especially when stacked with perks like Botany Knowledge or a medkit charge add-on. In a pinch, it turns a fragile three-man stage into a resilient reset machine.
Boon: Dark Theory – A Whisper of Speed
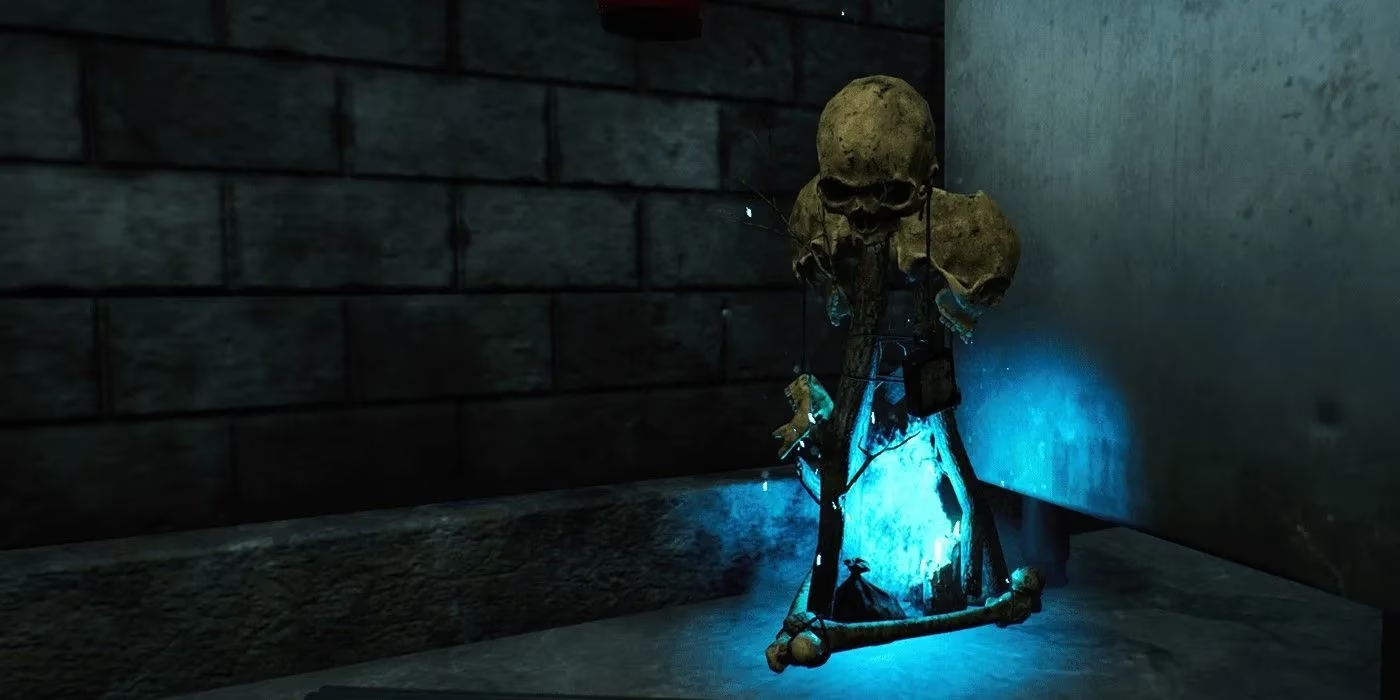
Boon perks have always been a game-changer, and Boon: Dark Theory adds a cheeky layer of slippery speed. Blessing a dull or hex totem creates a boon zone with a 24-meter radius; any survivor inside it gains a 2% Haste status effect, and the speed lingers for four seconds after stepping out. On paper, 2% sounds like small potatoes, but in practice it's the razor's edge between catching a hatchet to the spine and just barely reaching that pallet before the lunge connects.
The real magic happens when Dark Theory stacks with other boons. Combine it with Boon: Shadow Step to leave no scratch marks while zipping through tall grass, throw in Boon: Circle of Healing for self-sustained recovery, and suddenly you've built a mini fortress that makes even the sweatiest killer player want to DC. An all-boon build sacrifices the typical exhaustion perk slot (no Sprint Burst or Lithe here, mate), but on survivor-sided maps like The Game or Midwich, where totem spawns can be tucked into dead-end corridors, the payoff is monstrous. A coordinated SWF team can bless every corner of a trial, turning the entire ground into a speed-boosting, self-healing, invisible arena. Even in solo play, a single Dark Theory boon tucked near a strong three-gen zone can prolong the endgame dance until the exit gates flicker to life.
Putting the Pieces Together
To earn the "Adept Yoichi" achievement, players need to escape using only his three unique perks. That means running Parental Guidance, Empathic Connection, and Boon: Dark Theory simultaneously. The build feels clunky at first – no exhaustion, no Borrowed Time – but it forces a survivor to play mindfully. The trick is to bully loops early to rack up stuns and vanish with Parental Guidance, then use Empathic Connection as a rally point to heal up quickly. As the trial grinds on, drop a Dark Theory boon near a critical junction to create a speedway for the team. It's a high-risk, high-reward dance, but nailing that adept trophy feels sweeter than a bloody party streamer.
For those who teach Yoichi's perks to other survivors, the possibilities bloom. Stick Parental Guidance on David King for a brutal chase build, slap Empathic Connection on Claudette for the ultimate medic, or boon up any character to give the whole crew a foot-speed edge. Whatever the loadout, Yoichi's foggy gifts remind every killer that the ocean is deep and full of tricks – and this marine biologist knows how to swim with the sharks.